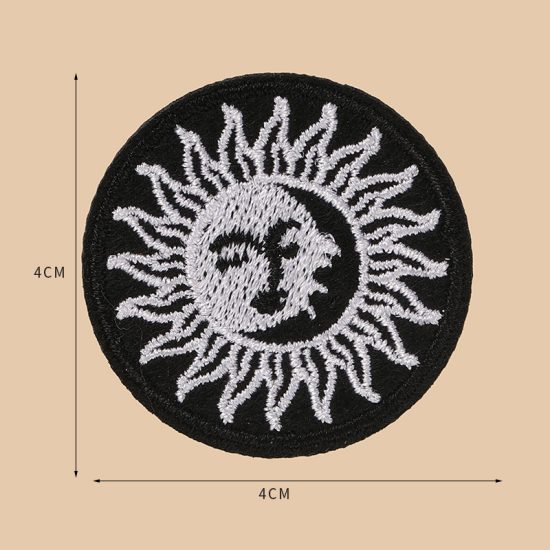
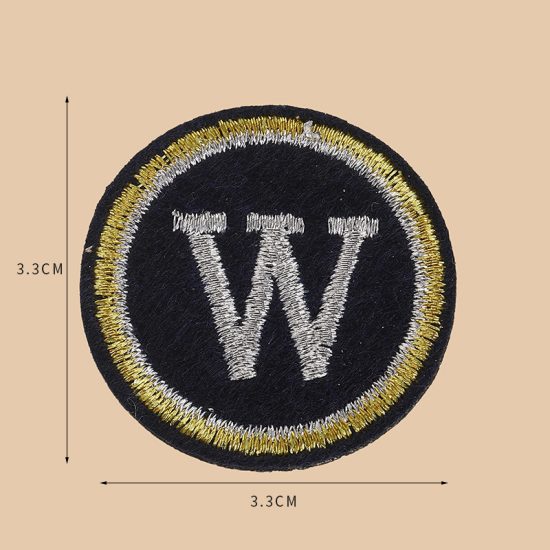
Applying iron on patches can be a fun and easy way to personalize your clothes and accessories. Here are five easy steps to follow when applying iron on patches:
- Prepare your materials: Make sure you have all the materials you need before starting. You will need the iron on patch, the fabric you want to attach it to, and an iron. If you’re ironing the patch onto a garment, turn the garment inside out to avoid damaging the design on the front. You should also preheat the fabric for a few seconds to help the patch adhere better.
- Position the patch: Place the patch onto the fabric with the adhesive side down. Use a ruler or measuring tape to ensure it’s centered and straight.
- Apply heat: Cover the patch with a thin cloth or towel, and press the iron onto the patch for 10-15 seconds. Make sure to apply even pressure to the entire patch, especially the edges.
- Check the patch: Lift the iron and check to see if the patch is securely adhered. If not, repeat the process until it is.
- Let it cool: Allow the patch to cool completely before handling. Once it’s cool, you can turn the fabric right side out and show off your new design.


