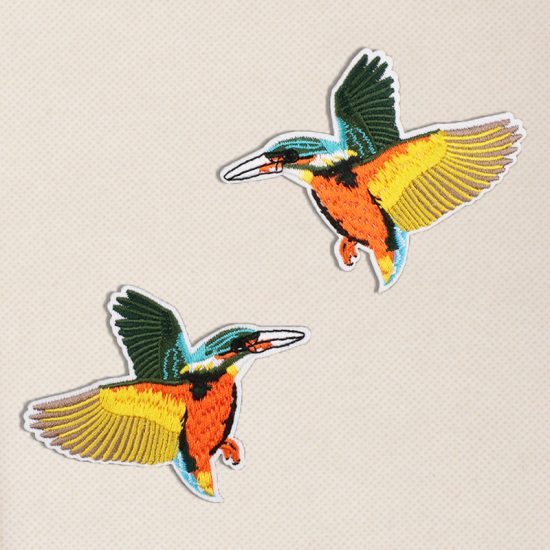
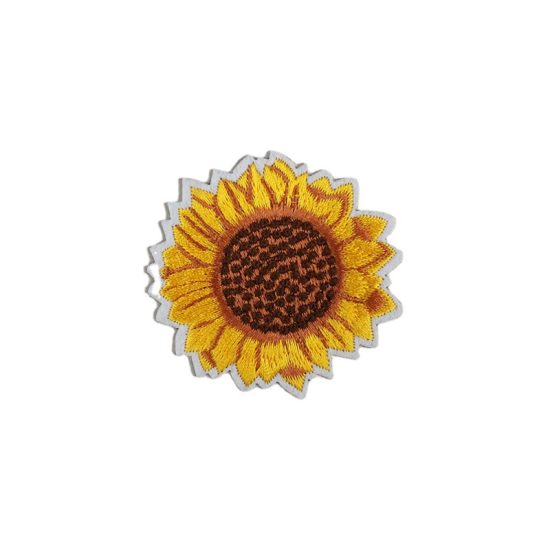
Designing your own custom iron on patches can be a fun and creative process. Here are the steps you can follow to design your own custom iron on patches:
- Choose your design: The first step is to decide on the design you want for your patch. You can create your own design or use a pre-made image or logo. Keep in mind that the design should be simple and bold, as fine details may not show up well on a patch.
- Select your colors: Choose the colors you want to use for your design. Consider the color of the fabric you’ll be attaching the patch to and choose colors that will stand out.
- Determine the size: Decide on the size of your patch. Make sure it’s appropriate for the item you’ll be attaching it to, and that the design is clearly visible.
- Create your design: Use a graphic design software like Adobe Illustrator or Canva to create your design. Make sure it’s high resolution and in the correct file format (usually a vector file). If you’re not confident in your design skills, consider hiring a graphic designer to help.
- Choose a manufacturer: Research and choose a manufacturer that specializes in creating custom iron on patches. Make sure they have good reviews and a track record of producing high-quality patches.
- Submit your design: Send your design to the manufacturer and follow their instructions for submitting the design. They may ask for a high-resolution image file, color codes, and other specifications.
- Approve the proof: Once the manufacturer creates a digital proof of your patch design, review it carefully and make any necessary changes. Approve the final proof before they begin production.
- Receive your patches: Once production is complete, you will receive your custom iron on patches. Follow the instructions above to apply them to your desired item.
Designing your own custom iron on patches can be a fun and rewarding experience. By following these steps, you’ll be able to create a one-of-a-kind patch that’s uniquely you.


